Sunday, June 10, 2012

Birthday card for Kendell

This past May, my friend's daughter turned 2.  She loves Mickey Mouse, and so I created the card and envelope below to for her birthday. Inspiration came from several sources (and from my own creativity), but here is where I got the instructions for the envelope, and the "saying" for the card.

Here are some pictures of how they turned out:
Instead of a present, I gave her $10...which made up Micky's bowtie.  I googled "How to fold money into a bowtie" and followed the directions from the YouTube video I found.

The card fits down inside the envelope.  As soon as I can get the photo of the card in the envelope uploaded, I will post it as well.

Birthday Cards for Lillian

Back in February/March, I went to a birthday party for my college roommate's daughter.  She LOVES Disney princesses, so I tried to make a theme present(s) that all centered around that. I got her a bunch of little presents that all had Disney princesses on them at Toy's R Us for under $20, then wrapped them in brown wrapping paper and pretty ribbon.  I put a card or tag on each of them that went with the theme.  Here are the some of the cards/tags.

This one is my favorite...I embossed a princess gown using a stamp and silver powder.


Baby clothes Sushi

It has been a while since I last posted, but I have still been busy creating. I need to just get caught up blogging about it. :)

Here is my latest creation, thanks to Pinterest, found here.
 
The black box on the envelope just covers up the name. I did the lettering on the card as well.
Here is another view of the plate and "sushi"

I used everything like the original post (found through the link above) except for the black table cloth.  I used a cutup t-shirt instead. I am not sure it if was easier or harder than it would have been with the table cloth, but it was what I had on hand.

This is what it looks like before you add the black cloth


It was pretty easy to do...the trickiest part was trying to keep the double rolls tight while putting the black cloth around them.

So, what do you think?

Thursday, April 5, 2012

Sugar Body Scrubs

I love body scrubs, but they are so expensive! So I started looking up homemade body scrub recipes. Course, then I realized how expensive essential oils are, and how hard it was to find them. Course nothing beats making your own (and I did find a place to buy the oils), so I wanted to post the recipe anyway.

I have two, one that I have made (for my sister for her birthday) and another one I found that will be making soon.

Brown Sugar Body Scrub (made it and it turned out GREAT!)
http://www.browneyedbaker.com/2011/12/16/diy-brown-sugar-spice-body-scrub/

Yield: One 16-ounce jar

Prep Time: 15 minutes

1 cup light brown sugar
1 cup pure cane sugar
2 teaspoons ground cinnamon
2 teaspoons ground ginger
2 teaspoons ground nutmeg
¾ cup almond oil

1. In a medium-size bowl, whisk together the brown sugar, can sugar, cinnamon, ginger and nutmeg until thoroughly blended. Make sure you break up any clumps from the brown sugar.

2. Stir in the almond oil, making sure that all of the dry ingredients have been moistened.

3. Spoon the mixture into a 16-ounce jar with lid. Tie with a ribbon and, if desired, add a gift tag with instructions:

“Scoop a teaspoon or two of the scrub on your hands and gently massage in circular motions onto your skin. Leave on for 3 to 4 minutes before thoroughly rinsing. The scrub will tighten on your skin.”


Vitamin C and Lemon Body Scrub (have not made)
http://thegreenbeautyguide.com/vitamin-c-and-lemon-sugar-body-scrub-recipe/

Ingredients:

1 cup jojoba or grape seed oil

1 cup brown raw sugar

1 large lemon

3 drops of peppermint essential oil

2 drops lemon essential oil

10 mg vitamin C crystals

Method:

Place the sugar in a bowl and squeeze the juice from the lemon. Add remaining ingredients and stir well.

Application:

Apply using gentle circular movements on clean skin. Concentrate on rough areas such as knees and elbows. Rinse and pat skin dry.

Storage:

You can store the scrub in the refrigerator for up to two weeks. (I want to find a way to make this without having to store it in the fridge...maybe leave out the lemon juice and put in lemon scent??? Hmmm...have to work on that.)


Saturday, February 11, 2012

Candy Jar pictures

Just realized I didn't finish the post on the candy jars.

After painting them, we glued mason jars to the tops of the sticks. We used gorilla glue then put them on the table with a few heavy books balenced on top so they could dry. The gorilla glue turned out to be not such a good idea at first. We used the kind that expanded, and of course, it expanded over the lip of the candle stick and showed.

Turned out to be a good thing though, since I had to figure out what I could do to cover it up and ended up liking the finished product better than I would have if I had left it plain. I ended up using sheer ribbon at the bottom of the jars, tied in a bow. It is actually the ribbon my sister used on her wedding invitations, so it worked out very well and tied everything together. Hind sight, I am really glad that the glue messed up and I had to find something else to add to them. I really love the way it turned out.

After everything was dry and I had wiped out the jars to make them clean and sanitary (I did was them first but wanted to make sure they were still clean since I was putting something edible in them), I filled them with three different types of candy. There are several different options for what to fill them with, both edible and non-edible, but I went with lemon heads (well, lemon heads and lemon head friends), fire balls and gummy cola bottles. The first two are my sister's favorite candies and the third is one liked by brother in law.

So there. That is the rest of the post. Below I have posted the picture of the finished product on my sister's table after she opened them. For the record, she loved them! :)


More Paint Chip Projects

Here are more paint chip projects!

The first one goes along with the last entry, where I showed you the bookmarks. These are valentines cards that I will be giving my students. I haven't made the envelopes yet, so I'll have to show you those in another post.

But first, here is how I made the cards.

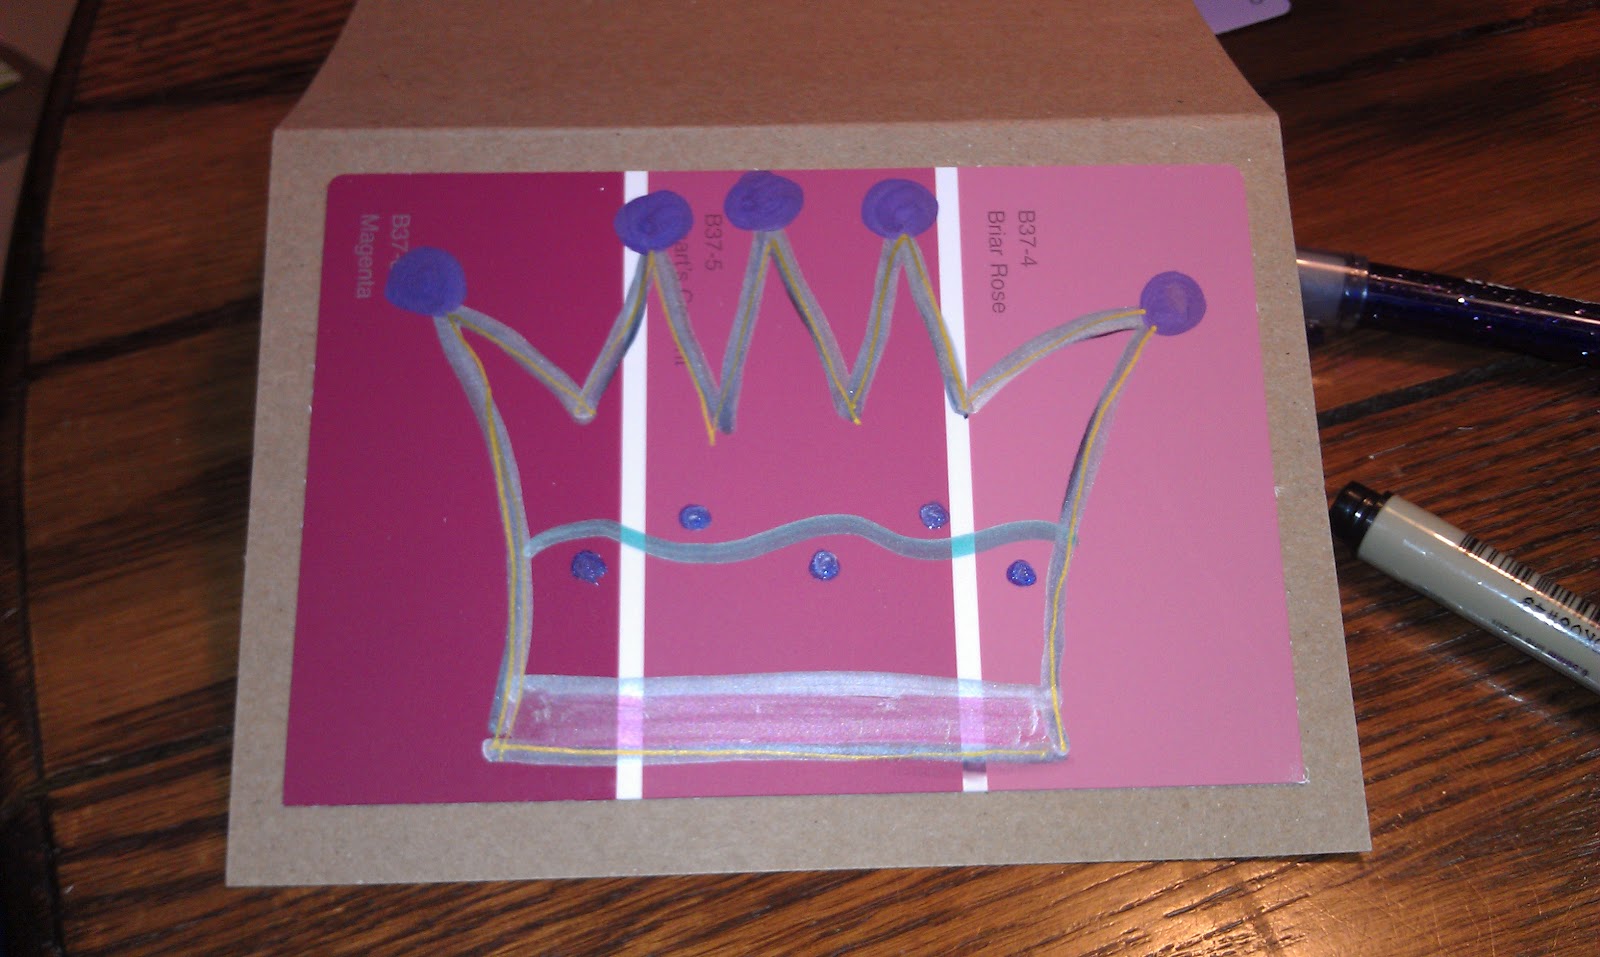
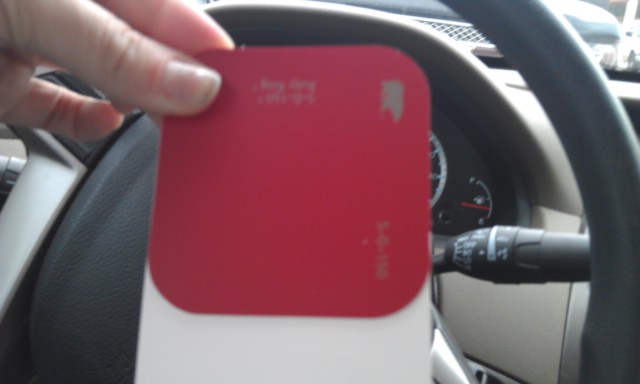
First, I used small paint chips for this one. They are single color ones, but I am sure you could use ones that have multiple colors on them.
Putting two of the same color together, which a white one in between them, I punched a hole in the upper left hand corner. I did have to cut the white paint chip down b/c there weren't any in the smaller size (you can see that below).
Next, I took a brad that I had cut the end off (see picture below for a picture of before and after) and put it through the holes.


I then cut several different size and types of hearts using my Cricut Expression. I chose one that fit the size of the chips I chose and glued it to the white chip. I then decorated it and wrote a message on it.
Finally, I (will) put it in an envelope that I cut using the Cricut and write the students name on it. Done!


My next paint chip project was card creating. I used my Cricut Expression to cut a heart, a flower and two "love"s from paint chips. I did use a bigger chip for this project because I wanted to have several colors on it. Even using a high level of pressure, it was still difficult to cut all the way through the thick paint chip. I then glued the pieces down so that "love" was the flower stem and the balloon string. That is it!


My last project (as of right now), I made a notebook using paint chips. You want to get pretty good size chips for this one to make it usable. Behr from Home Depot has the best. They also have the rings (pictured below) that you can get for FREE! They are also in the paint section and are supposed to be used to keep all your paint chips together. I haven't seen these anywhere else besides Home Depot (and trust me, I check out the paint section in any store I am in that carries paint), so I would just make a trip there.
To make the notebook, I cut three holes into two paint chips that matched. I ended up using a three hold punch for the top and bottom ones then measured with a ruler and used a single hole punch to make the middle one. I am a tad anal, so I wanted to make sure they were equal distances from each other and the ends.
To make the paper for the inside, I played around with notebook paper until I had the size I wanted. I made the inside sheets smaller than the paint chips so they wouldn't stick out. I then used one of the paint chips as a guide and punched three holes in the notebook paper. For the size I used, I was able to get about four squares out of one sheet of paper.
I then put it all together, put the rings through the holes, and voila! I have a notebook. :) I use it as a food journal, but you could do anything you want with it. I do plan on using my Cricut to cut something to decorate the cover. But for now, I'm busy making 30 of those Valentines cards for Wednesday!


Sunday, January 29, 2012

Valentine's bookmarks

It has been a while since I posted but I have been busy creating!!

My newest creations that I want to share are Valentine bookmarks that I created for my students out of paint chips. Here is the original inspiration. And here and here are more ideas on bookmarks and other things you can do with paint chips.

These are really so easy that I am not going to post step by step pictures.
Here is what you do.

-Go to your local Walmart or hardware store and stock up on paint chips (get all different colors-the possibilities are endless with these so get a bunch...you may want to get them on several trips though).
-You can leave the paint chips long or you can cut them in half for a shorter bookmark.
-Using scrapbook punches and some markers, punch shapes down the paint chips. I varied the punch I was using plus the placement of the punch to make several different types. I also glued the pieces that punched out on other paint chips for a different look.
-Punch a hole in the top of each one.
-Using ribbon, slip both ends of ribbon through one side of the hole until you are left with a loop on one side and the ends on the other. Pull the ribbon ends through the ribbon loop tightly. You now have a bookmark.

Below are some pictures of the end product. The first picture shows you how I cut one in half to make two...I set it next to a whole one to show the different sizes. Since I have quite a few kids (and a lot are boys), I tried to do a bunch and will let the students pick the one they want to go along with their valentine.

Now all I have to do is figure out what kind of card to get them! I have always done dollar store valentines, but this year, I think I want to make them. Especially since I am getting an early start! What do you suggest?